How to Edit an HTML Website Template: Step-by-Step for Beginners
By Nishant · · 9 min read
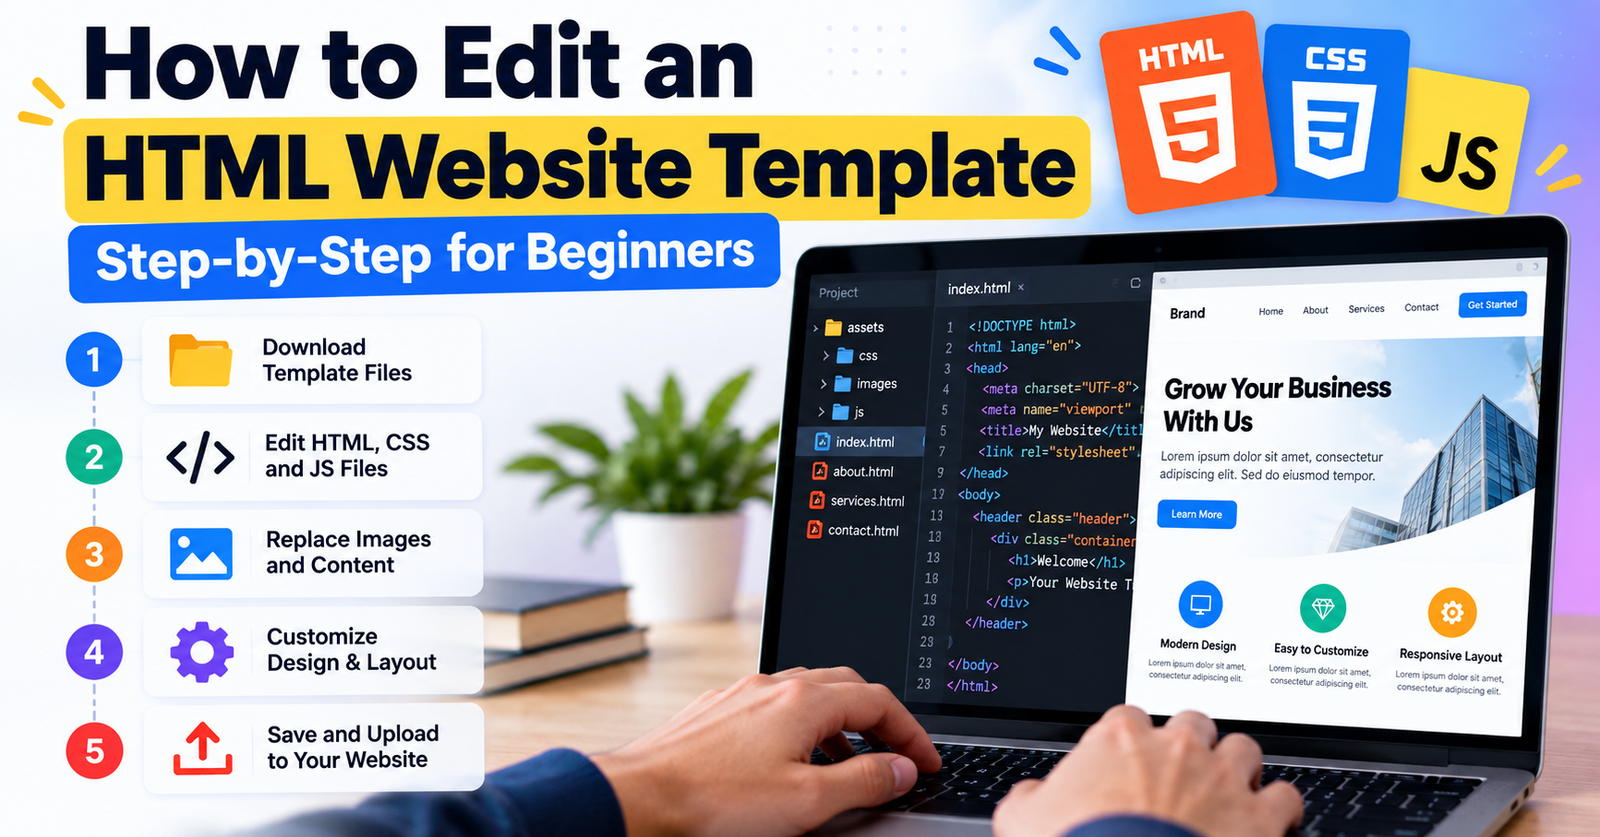
You have downloaded an HTML website template and opened the folder. There are HTML files, a CSS file, an images folder and maybe a PHP file, and you are not sure where to start. The good news is that editing an HTML template does not require you to know how to code. You need a free text editor, a careful approach and about an afternoon. This guide walks through the whole process, from unzipping the file to a site that is ready to upload.
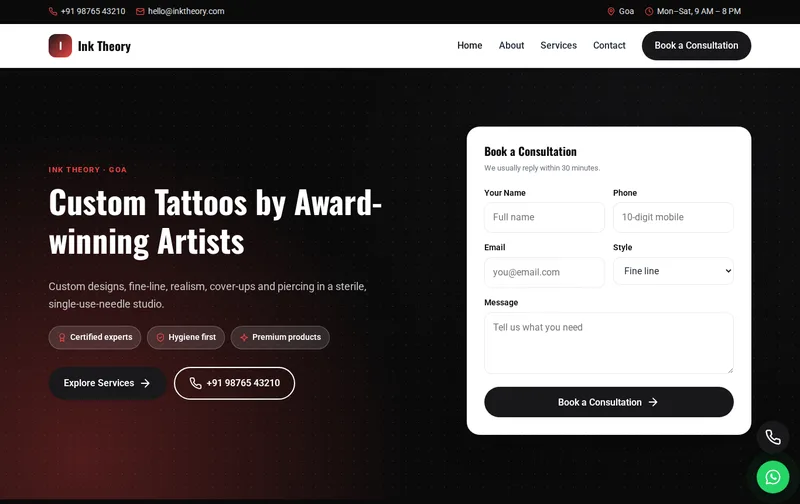
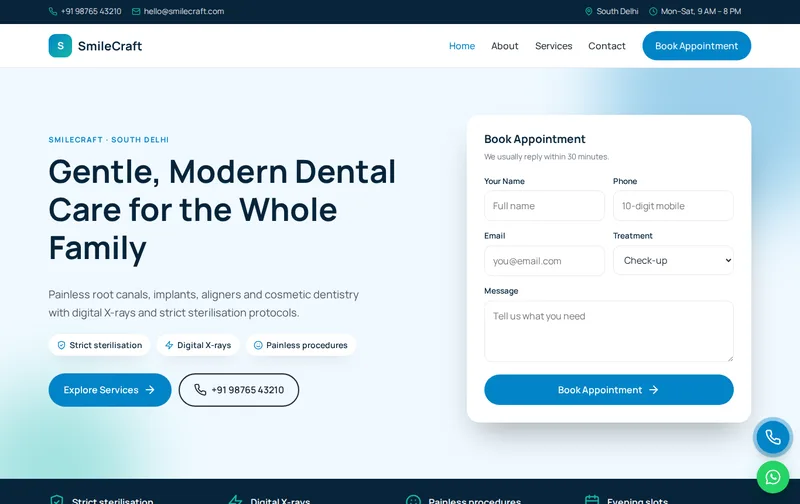
The steps use our own Web Template Hub templates as the example, but they apply to almost any HTML and CSS template.
What you need before you start
- A code editor. Visual Studio Code is free and works on Windows, Mac and Linux. Notepad++ is a lighter option on Windows. Avoid Microsoft Word or other word processors; they add formatting that breaks HTML.
- A modern browser such as Chrome, Edge or Firefox, to preview your changes.
- Your content, ready in one place: business name, phone, WhatsApp number, email, address, opening hours, service list with prices, and your own photos.
- A backup. Keep the original zip file untouched. If something goes wrong, you can always start again from a clean copy.
Step 1: Unzip the template and look at the files
Extract the zip into a folder on your computer, then open that folder in your editor (in VS Code, use File, Open Folder). A typical template contains:
- HTML files: one file per page, such as the home, about, services and contact pages. These hold your text.
- A CSS file: usually style.css, which controls colours, fonts and layout.
- A JavaScript file: handles small interactions like the mobile menu. You rarely need to touch it.
- An images folder: the demo photos you will replace.
- Supporting files: in our templates, contact.php for the enquiry form, robots.txt, sitemap.xml and a README with setup notes.
Read the README first. It lists template-specific details, such as which settings live where, and saves you guesswork.
Step 2: Preview the site locally
Double-click the home page HTML file to open it in your browser. Keep that tab open: after each change, save the file in your editor and refresh the browser to see the result. In VS Code, the free Live Server extension refreshes the page automatically every time you save, which makes editing much faster.
Note that the contact form will not send emails from your computer, because it needs a PHP server. That is expected; you will test it after uploading.
Step 3: Replace the business details everywhere at once
The demo name, phone number and address appear on every page, in the header, footer, contact sections and structured data. Do not edit them one by one. Use search across all files instead: in VS Code, press Ctrl+Shift+F (Cmd+Shift+F on a Mac), type the demo business name, and replace it with yours across the whole folder. Repeat for:
- the demo phone number, in every format it appears (with and without +91 and spaces);
- the WhatsApp number in the chat links, which usually looks like wa.me/91XXXXXXXXXX;
- the email address;
- the street address, city and PIN code;
- the demo domain name, which appears in canonical tags, Open Graph tags and the sitemap.
Before replacing all, look at the list of matches. If a demo word also appears in normal text where you do not want it changed, replace those matches individually.
Step 4: Edit the page text
Open each HTML file and find the visible text between tags. For example, a heading looks like <h1>Your heading here</h1> and a paragraph like <p>Your text here</p>. Change only the words between the angle brackets, and leave the tags and class names exactly as they are.
A few rules keep the layout intact:
- Every opening tag needs its closing tag. If you delete a <p>, delete the matching </p> too.
- Keep text lengths roughly similar to the demo in cards and buttons, or the design may look uneven.
- To remove a whole section, delete everything from its opening <section> tag to its closing </section> tag.
- To add another service card, copy an existing card from its first tag to its last, paste it next to the original and change the text.
Write for your customers, not for search engines. Describe what you do, where you work, what it costs and how to contact you. Our guide on choosing a website template for a local business has more on what local customers look for.
Step 5: Replace the images
The simplest way to replace a photo is to give your image the same file name as the demo image and copy it into the images folder, overwriting the original. The page will pick it up without any code changes. If you prefer new file names, update the matching src="..." path in the HTML.
Keep images close to the shape of the demo images so grids line up, and compress them before uploading. Free tools such as Squoosh or TinyPNG can reduce a photo from several megabytes to a couple of hundred kilobytes without visible loss. Large, uncompressed photos are a common reason a fast template becomes slow after editing.
Update each image's alt text, the short description inside alt="...", so it describes your actual photo, for example "Dental chair and treatment room at our Saket clinic".
Step 6: Change colours and fonts
Open style.css. In our templates the brand colours sit in a few CSS variables at the top of the file, written like --primary: #1d4ed8;. Change those hex codes to your brand colours and every button, link and highlight on every page updates together. Check that text on buttons is still easy to read against the new colour.
Fonts are loaded from Google Fonts in the head section of each HTML file. Switching fonts means changing the Google Fonts link and the font-family names in the CSS. If you are new to this, keep the template's fonts; they were chosen to work with the layout.
Step 7: Set up the contact form
Open contact.php and find the line that sets the recipient email address. Replace it with the address where you want enquiries delivered. Our templates also include a hidden honeypot field that catches simple spam bots; leave it in place. If your host does not support PHP mail, you can point the form at a form service such as Formspree instead.
Also check any dropdowns in the form, such as a list of services or vehicle types, and edit the options to match what you actually offer.
Step 8: Update the SEO settings on every page
Each HTML file has a head section that search engines read. Update these on every page:
- Title tag: the text inside <title>, ideally under 60 characters, with your main service and location.
- Meta description: a one or two sentence summary, roughly 140 to 160 characters.
- Canonical URL: the full address of that page on your own domain.
- Open Graph tags: the title, description and image shown when your link is shared on WhatsApp or social media.
Next, find the structured data block, a script of type application/ld+json, usually on the home page. Replace the business name, address, phone, opening hours and URL with your real details, matching your Google Business Profile exactly. Our article on schema markup for local business websites explains each field.
Finally, open sitemap.xml and robots.txt and replace the demo domain with yours.
Step 9: Check everything before you upload
- Click every link and button in your local preview.
- Open the site in your browser's mobile view (F12, then the device toolbar) and check each page at phone width.
- Search the whole folder one last time for the demo name, phone and domain to catch anything you missed.
- Read every page aloud once. Typos are easier to hear than to see.
Step 10: Upload and test live
Upload the folder's contents to the public_html directory of your hosting account, either with the host's file manager or an FTP client. Our step-by-step guide to launching a business website on Hostinger covers uploading, SSL and Google Search Console. Once the site is live, send yourself a test enquiry, confirm it arrives (check the spam folder too), and tap the call and WhatsApp buttons on your phone.
Common mistakes to avoid
- Editing in a word processor instead of a code editor.
- Deleting a closing tag, which can push a whole section out of place.
- Leaving the demo phone number in the structured data or WhatsApp link.
- Uploading uncompressed photos straight from a phone.
- Forgetting to change the canonical URLs, which can confuse search engines.
Frequently asked questions
Do I need to know coding to edit an HTML template?
No. You need to recognise where text sits between tags and avoid deleting the tags themselves. The steps above are enough for most edits.
Can I edit the template directly on my hosting?
Yes, most hosting file managers have a built-in editor. It is safer to edit on your computer first and upload a finished copy, so a mistake never appears on the live site.
How long does it take?
With your content ready, a simple four-page template can usually be edited in a few hours. Gathering good photos and service details often takes longer than the editing.
What if I do not want to do it myself?
Our partner agency can install, brand and launch any template for you. See our custom website design service.
Summary
Editing an HTML template comes down to a clear order: back up, preview locally, replace business details everywhere with search, edit text without touching tags, swap and compress images, adjust colours, set the form email, update SEO tags and schema, check, then upload and test. Follow it once and your site is ready for customers. If you have not chosen a design yet, browse our website templates for Indian businesses or start with one of our free templates.