How to Launch Your Business Website on Hostinger in One Hour
By Web Template Hub Team · · 8 min read
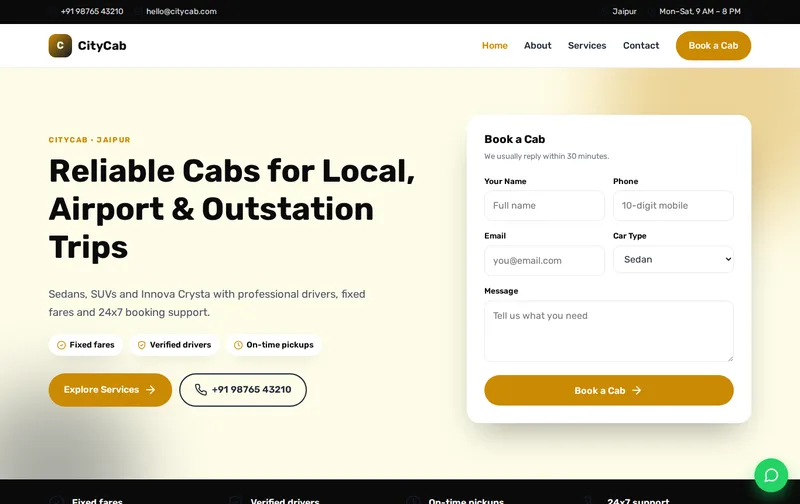
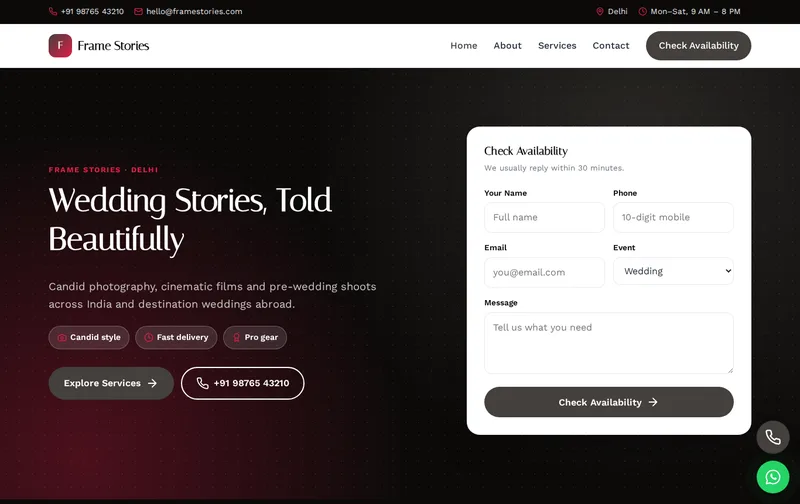
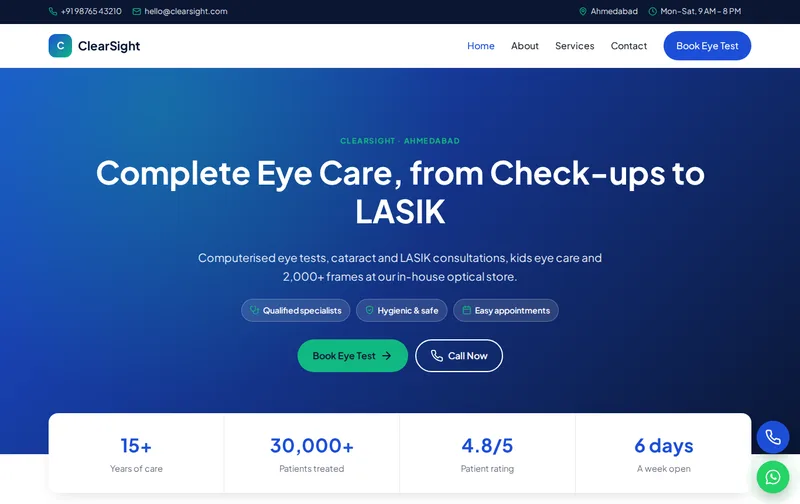
You do not need a developer to publish an HTML website. With a ready-made template and a basic hosting plan you can be live in about an hour. Here is the exact process.
Step 1: Get your template
Pick a template for your niche from our template library. After payment is verified, you receive a download link by email. Unzip the file on your computer.
Step 2: Replace the demo details
Open each HTML file in a text editor such as VS Code or Notepad++. Use Find and Replace to change the business name, phone number, email and city. Update the domain in the canonical tags, schema and sitemap.xml from www.example.com to your own domain.
Step 3: Add your photos
Resize photos to around 1600px wide and compress them. WebP is usually a good choice for keeping image quality while reducing file size. Put them in the assets/img folder and replace the gallery tiles.
Step 4: Upload to Hostinger
- Log in to hPanel and open Websites → File Manager.
- Open the public_html folder and delete the default index file.
- Upload the zip, right-click it and choose Extract. Move the files so index.html sits directly inside public_html.
- Open contact.php and set your email address.
Step 5: Turn on SSL
In hPanel go to Security → SSL and install the free certificate. Then force HTTPS so every visitor gets the secure version.
Step 6: Tell Google
Add your site to Google Search Console, submit sitemap.xml, and create or update your Google Business Profile with the same name, address and phone number as your website.
Step 7: Check your website before launch
Do not publish the site and immediately assume everything works. Open the homepage, service pages, contact page and every important navigation link. Check the website on both desktop and mobile.
Test the phone number, email link, WhatsApp button, contact form and map. A beautifully designed website that sends enquiries to the wrong email address can lose customers immediately.
Step 8: Configure the basic SEO settings
Give every important page a unique title and meta description that accurately describes the page. Use one clear H1 heading and organize supporting information with H2 and H3 headings.
For a local business, mention the actual service area naturally in the content. Avoid copying the same paragraph onto dozens of city pages simply by replacing the city name. Each important location page should provide genuinely useful local information.
Step 9: Create a useful sitemap
Your sitemap should contain the canonical URLs of pages you actually want search engines to index. Remove test pages, duplicate URLs, old demo pages and unnecessary parameters before submitting it in Search Console.
Also check your robots.txt file. Make sure important pages, CSS, JavaScript and image resources are not accidentally blocked from crawling.
Step 10: Set the canonical URLs correctly
Each indexable page should point to its preferred URL using a canonical tag. Decide whether your website uses www or non-www and HTTPS, then keep the preferred version consistent throughout internal links, sitemap URLs and canonical tags.
Incorrect canonical URLs can create confusion when several versions of the same page are accessible.
Step 11: Improve website speed
A template can look fast on your computer but load slowly for visitors when it contains large images, unnecessary JavaScript or third-party scripts. Compress images, remove unused libraries and avoid loading large files that are not required above the fold.
Pay particular attention to the mobile version because many local-business visitors arrive from phones. Test important pages with Google's PageSpeed Insights and fix the largest performance problems first.
Step 12: Add your business information
Make your business details easy to find. Include the business name, address, phone number, opening hours, service areas and contact options where they are genuinely relevant.
Create dedicated service pages when your business provides multiple important services. A plumber, for example, may have separate pages for emergency plumbing, bathroom plumbing, pipe repair and water-tank services instead of putting everything into one short page.
Step 13: Add structured data carefully
Structured data can help search engines understand your organization, services, products, articles and other page information. Use the schema type that accurately describes the visible content on the page.
Do not add schema simply to insert keywords or information that visitors cannot see. The structured data should represent the actual business and content on the page.
Step 14: Test your contact forms
Submit every form yourself before announcing the website. Confirm that the message reaches the correct inbox and that the visitor receives an appropriate confirmation message.
If your form uses PHP, check that the hosting environment supports the required PHP version and mail configuration. For important lead-generation websites, consider using a properly configured transactional email service rather than relying entirely on basic server mail.
Step 15: Connect analytics and Search Console
Install an analytics solution so you can understand how visitors use the website. Search Console provides information about Google Search performance, indexing and search queries.
Watch for indexing errors, pages that are excluded unexpectedly, broken URLs and important queries that begin generating impressions. These reports are more useful than guessing what Google may be doing.
Step 16: Create a proper 404 page
Visitors will eventually reach URLs that no longer exist. Replace the generic server error with a useful 404 page containing your branding, navigation and links to important sections of the website.
Do not automatically redirect every missing URL to the homepage. Where possible, redirect an old URL to its closest relevant replacement; otherwise, allow the correct 404 response.
Step 17: Protect the website
Keep your hosting account, CMS components and server-side scripts updated. Remove unused demo files, installation scripts, backup archives and credentials from publicly accessible directories.
Never store database passwords, API keys or other private credentials inside files that visitors can download. If the template includes a configuration file, review it carefully before uploading the website.
Step 18: Build trust before promoting the site
A new website should clearly explain who operates the business and how customers can contact it. Add an About page, contact information, service details, privacy policy and other legally or commercially relevant pages where appropriate.
Use real business photographs, original service descriptions, customer information and verifiable credentials instead of filling the website with generic template text.
Step 19: Create useful content after launch
Your homepage does not need to contain every possible keyword. Build useful pages around the questions and services that matter to your customers.
For example, a local AC repair company could publish practical guides about AC maintenance, common cooling problems, service costs and emergency repairs. The purpose should be to answer real customer questions, not simply produce pages for search engines.
Step 20: Keep the website maintained
Publishing the website is only the beginning. Check the site periodically for broken links, expired information, outdated prices, missing images, form failures and security problems.
Update service pages when the business changes, add genuine customer-facing information and review Search Console data to identify pages that need improvement.
Common mistakes to avoid
- Uploading the website into the wrong directory.
- Leaving the template's demo business name and contact details in the source code.
- Forgetting to change canonical URLs and sitemap URLs.
- Uploading huge uncompressed images.
- Leaving HTTP and HTTPS versions inconsistently configured.
- Publishing placeholder text such as “Lorem ipsum”.
- Using the same generic content across multiple service or location pages.
- Adding fake reviews, credentials or business information.
- Failing to test contact forms after deployment.
- Blocking important pages through robots.txt or incorrect noindex tags.
How long does it take?
A simple static HTML website can often be uploaded and configured quickly when the domain, hosting and template are already available. The technical upload may take only a short time; preparing original content, images, business information, forms and SEO settings usually takes longer.
What you need before starting
- A registered domain name
- Web hosting with FTP or File Manager access
- An HTML template
- Your business name and contact information
- Original business photographs
- Service and pricing information where applicable
- A business email address
- Google Search Console access
- Google Business Profile access for eligible local businesses
Final pre-launch checklist
- Homepage loads correctly
- Navigation links work
- Website works on mobile
- HTTPS is active
- Contact forms have been tested
- Phone and WhatsApp links work
- Business information is accurate
- Page titles and descriptions are customized
- Canonical URLs use the correct domain
- XML sitemap contains the intended URLs
- Robots.txt does not block important content
- Images are compressed and have descriptive alt text
- Search Console has been configured
- Analytics has been configured
- Privacy and other required legal pages are present
Ready-made website versus custom development
A ready-made HTML template is useful when you need a professional website quickly and your requirements are straightforward. It can provide the layout, responsive design, navigation, service sections and other common components without starting from an empty project.
Custom development becomes more useful when you need features such as customer accounts, online payments, booking systems, dashboards, inventory management, complex integrations or business-specific workflows.
For a standard local-business website, the simplest approach is usually to start with a clean, lightweight template, replace all demonstration content with genuine business information, configure the technical SEO correctly and test every customer-facing function before launch.
Short on time? Our custom website design team can handle the setup, customization, deployment and launch configuration for you.